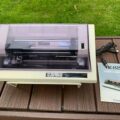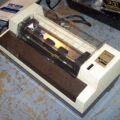
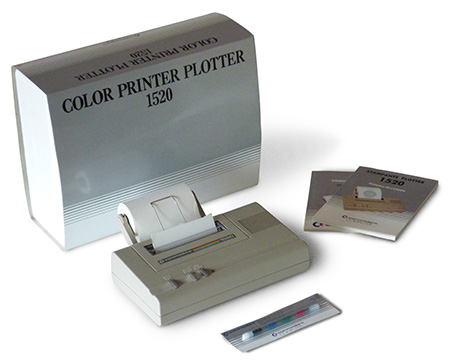
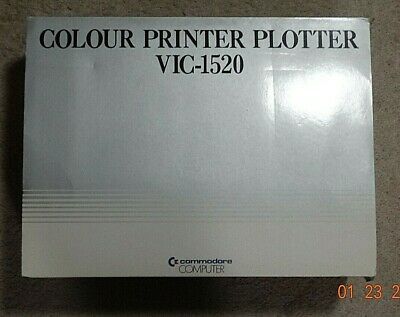
Anche se forse non è stato un grande successo commerciale, la stampante/lotter 1520 della Commodore è un grande risultato. La 1520 contiene quattro minuscole penne, non diverse dalle penne a sfera con cui scriviamo ogni giorno. Ognuna di queste penne è di un colore diverso e solo una viene attivata alla volta, sebbene tutte possano essere attivate in qualsiasi momento dicendo alla stampante di passare a un altro colore.


Altri comandi indicano alla penna quanto in alto o in basso disegnare, in quale direzione “girare” e con quale angolo disegnare. Si possono trascorrere ore di divertimento semplicemente scrivendo piccoli programmi per istruire il plotter nel disegno di molte cose meravigliose.
Il 1520 è anche in grado di stampare testi, sebbene ottenga ciò “disegnando” ogni lettera (che è molto divertente da vedere).
Commands summary
(Translated from German)
The unit number of the plotter is 6. First of all you can address it like a printer:
open 1,6
print#1, “hello!”
CLOSE 1
The plotter draws then the letters (is again and again fascinating!).
The meaning of the secondary address with the open instruction:
0: Pressures (default value, see above)
1: Plotten
2: Color select
3: Character size select
4: Indication rotation select
5: Line mode (e.g. dashed) select
6: Selection upper and lower case printing capability
7: Plotter RESET
A plot program should keep several logical files with the different necessary secondary addresses
open at the same time.
The coordinate system:
Horizontal (from on the left of to the right) the x axis is vertical, the y axis.
The x axis goes from 0 to 479 (is 96mm). The y axis is programmable for values between -998 and +998.
Plotting:
print#1, “[instruction]”,X,Y
Values for [ instruction ]:
H: To the absolute zero (0,0) induce (X and Y do not indicate here!)
I: Specify relative zero point on current position (X and Y do not indicate here!)
M: To the position X,Y induce, relative to the absolute zero, pin raised
D: To the position X,Y induce, relative to the absolute zero, pin on the paper
R: To the position X,Y induce, relative to the relative zero point, pin raised
J: To the position X,Y induce, relative to the relative zero point, pin on the paper
Example square:
open 1,6,1
print#1, “M”,50,0
print#1, “D”,50,150
print#1, “D”,200,150
print#1, “D”,200,0
print#1, “D”,50,0
CLOSE 1
Color selection:
open 2,6,2
print#2, more [color number ]
0: Black
1: Blue
2: Green
3: Red
In the manual it is said that the pins must be naturally inserted into the correct
mounting plates; -)
Character size:
open 3,6,3
print # 3, [Big]
0: 80 indication/line
1: 40 indication/line (default)
2: 20 indication/line
3: 10 indication/line
Indication rotation:
open 4,6,4
print#4, [Rotation ]
0: Horizontal (default)
1: 90 degrees to the right turned
Line type:
open 5,6,5
print#5, [ line type ]
0: Pulled through (default)
1 to 15: Interrupted, the more largely the number, the longer the individual sections
Character set:
open 6,6,6
print#6, [ character set ]
0: Normally: Capital letter/shifted: Small letter
1: Normally: Small letter/shifted: Capital letter
RESET:
open 7,6,7
print#7
All values (e.g. character size, line type) are stopped to the default values and the memory
of the plotter is cleared.
I hope, been sufficient for the beginning. Otherwise I can only say: To try goes studying over.
I am e.g. not safe me whether the y-values rise upward or downward. Here a contradiction is in the manual.